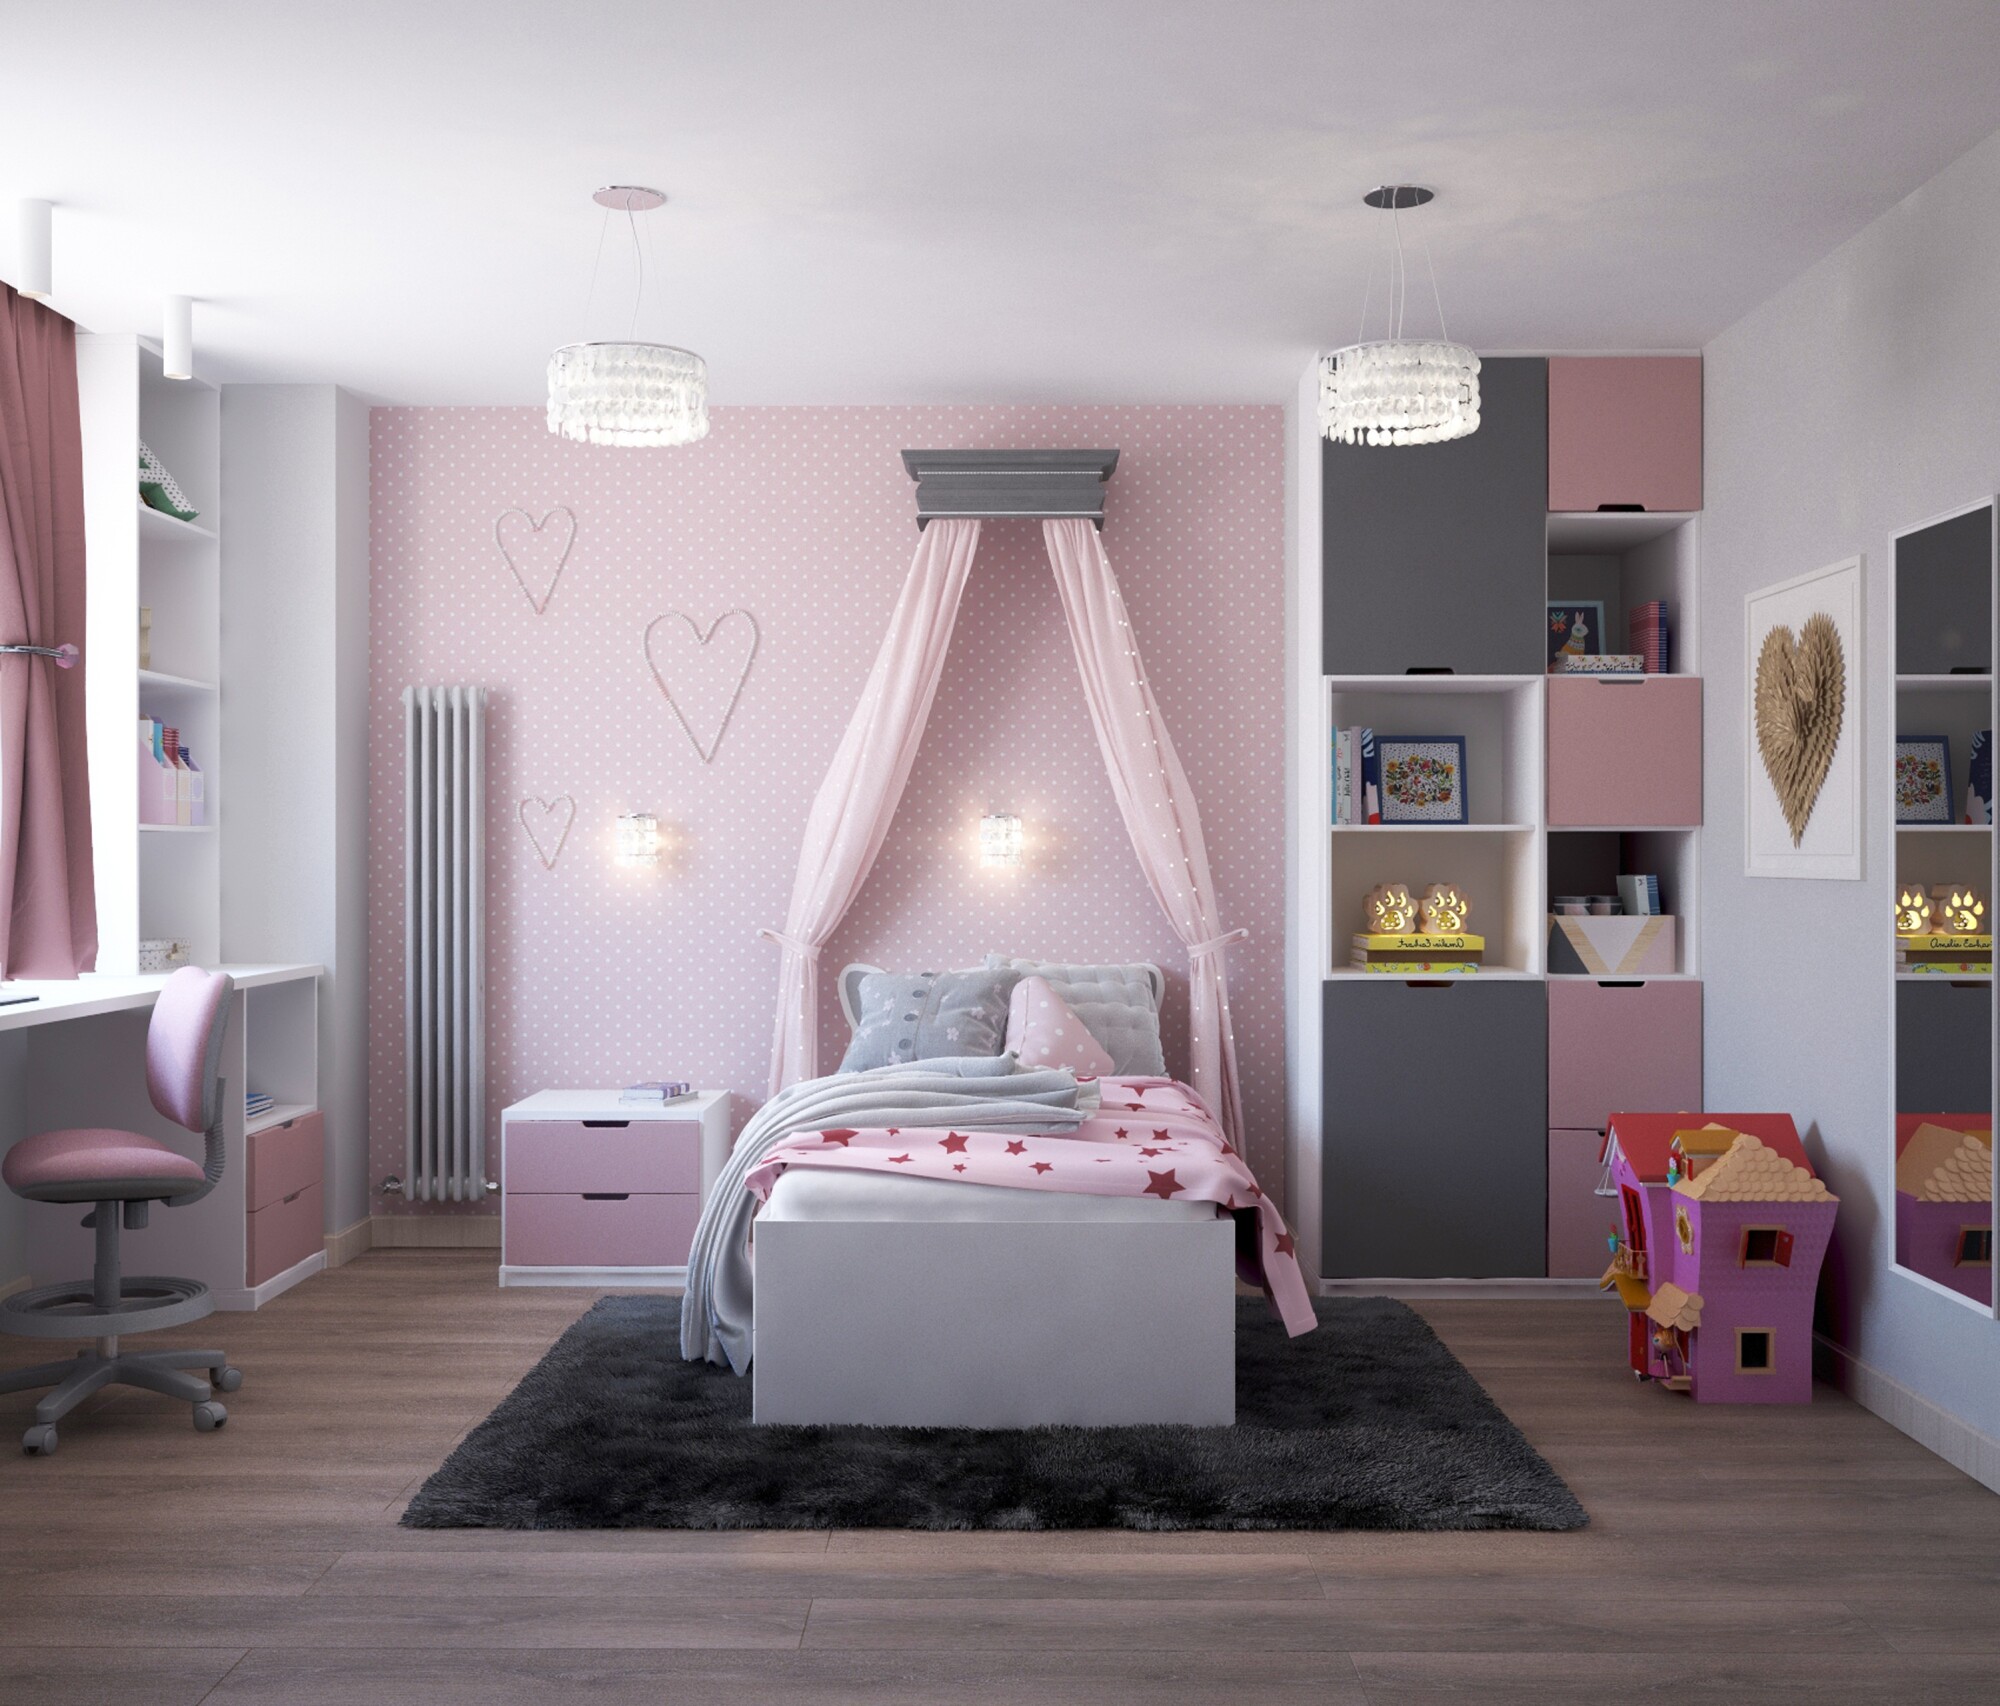
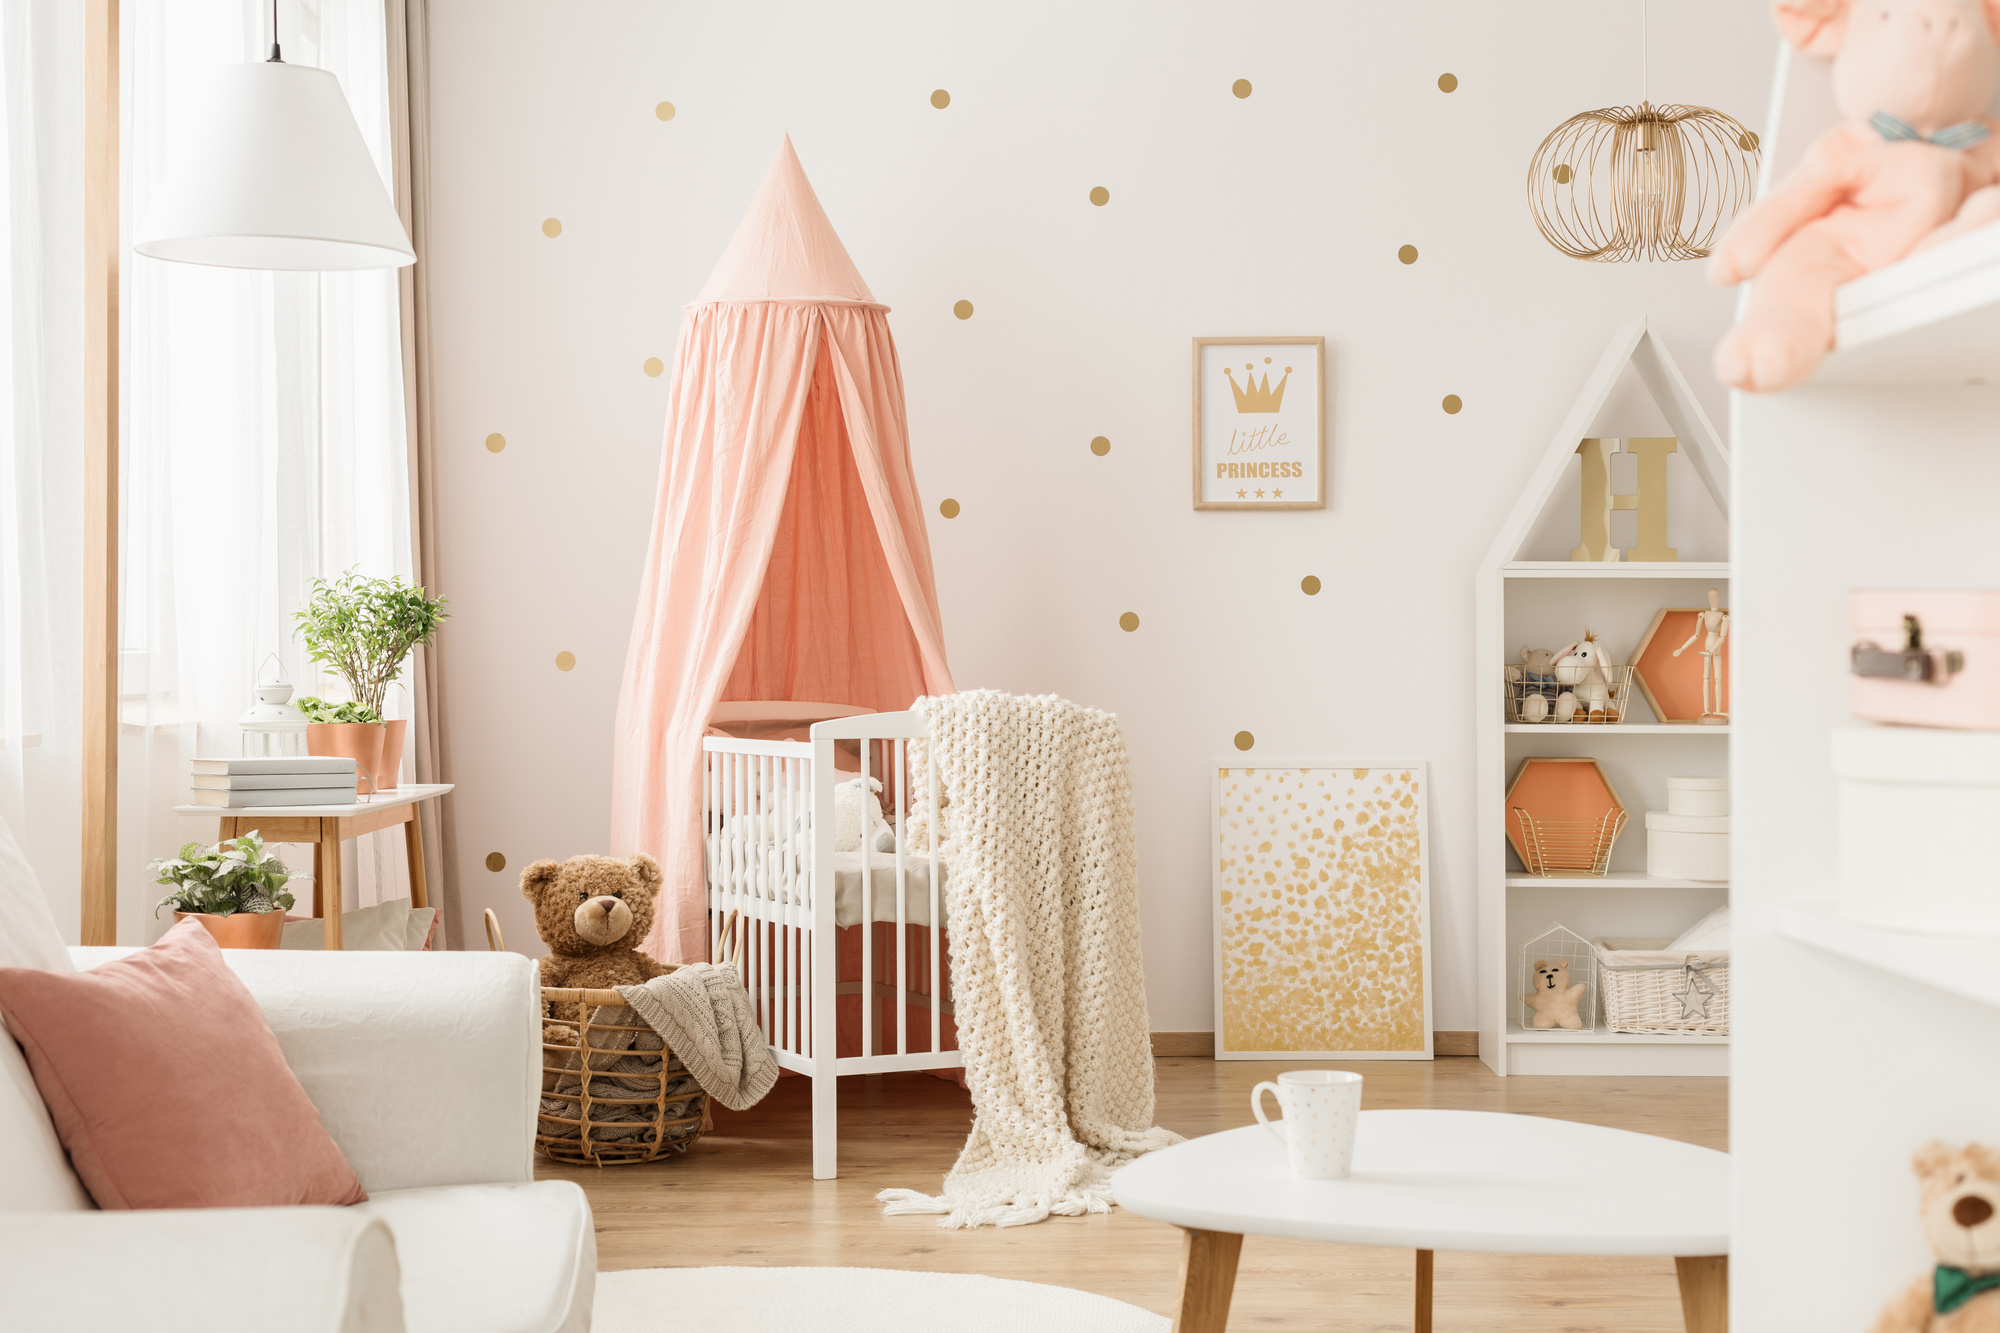
Are you ready for a little change in your inner sanctum? Indeed, the bedroom is a sacred space that should soothe us and bring tremendous peace.
All in all, it’s estimated we spend 33 years of our lives in bed! Why not make those some of the best years of our lives?
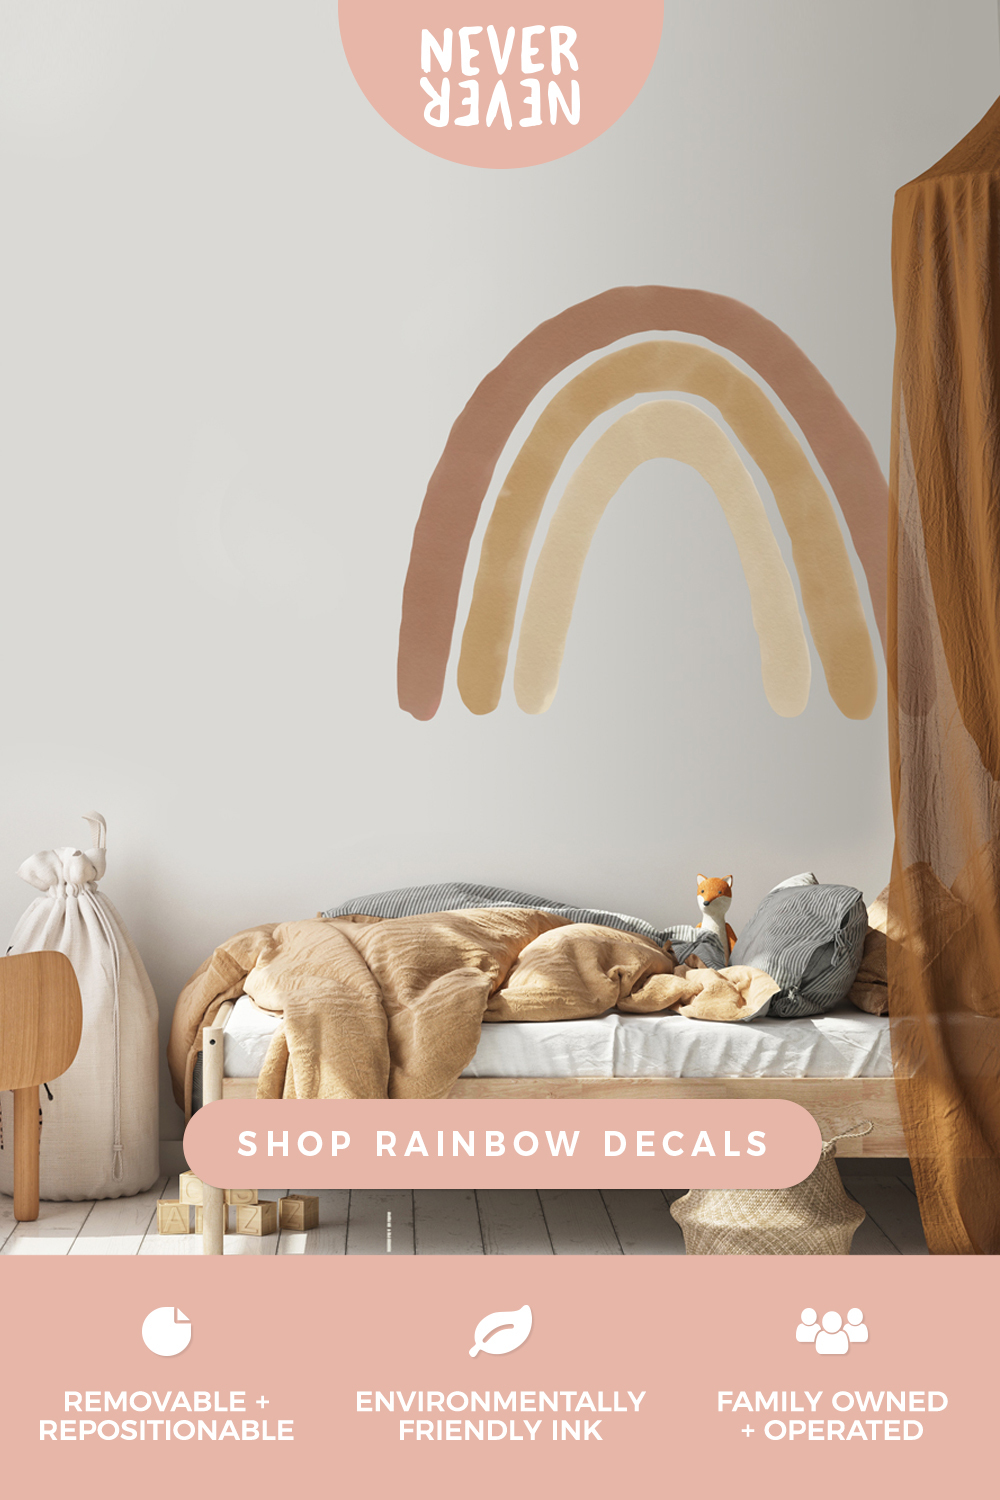
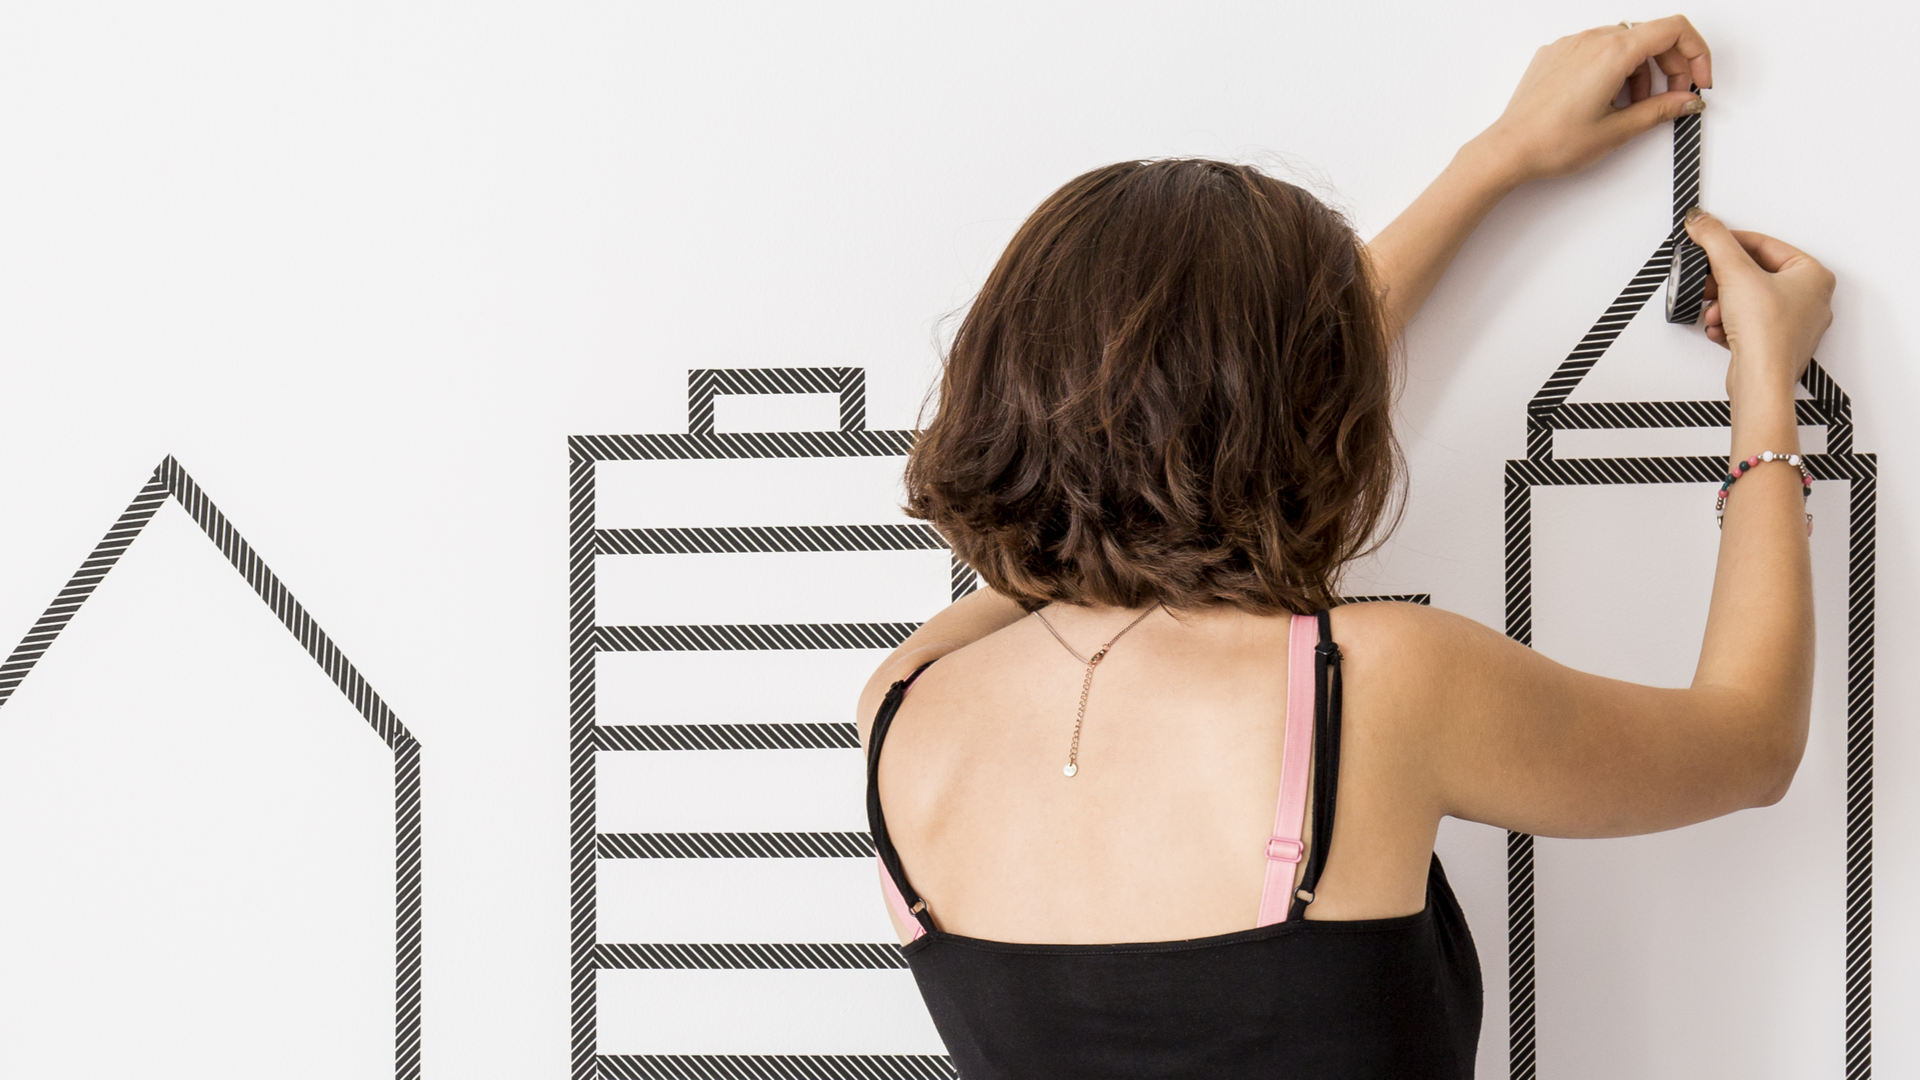
When it’s time for a small-scale room renovation, purchasing lovely wall decals can change a blank, barren wall into a seascape, a pretty field of peonies, or a starry, starry night.
Best of all, applying wall decals can be as easy as applying a few stickers to your favourite notebook or water bottle. Below, we’re going to outline five essential tips that will simplify the whole process.
When you’re done, you’ll have a whole new space that you’ll be glad to spend those 33 years in.
Table of Contents
1. Clean the Surface
How many of us clean our walls during our weekly tidying up? Not many. But, if you ever take a bit of warm water and soap to your bedroom walls, you’d be quite surprised.
Dirt and dust have a way of landing on every surface, even though it appears unseen. Take the time to fill a small bucket with warm water and a gentle cleanser.
Then, with a soft cloth, clean the surface you’re going to apply to. If you don’t, then the decal will only stick to the (unseen) dirt on the wall and not the wall itself.
Finally, be sure the wall is completely dry before applying your bedroom wall decals. To speed up the process, you can even turn on a floor fan to ensure a clean, dry surface.
2. Take Some Measurements
What kind of decal do you have in mind? Whether it’s a bedhead wall decal or a fullscale wall design, you have to pull out your measuring tape.
Take all your measurements from the edge of the wall to the position where you’d like to apply it. Then, you’ll know if you’ve evenly centred and spaced your wall decal designs.
When you make marks on the wall to indicate the corner positions of your decal, be sure to use a pencil and draw very fine lines. Heaven forbid your pencil mark doesn’t erase and becomes an eyesore for your beautiful new decal.
3. Use Your Level
All in all, we recommend three tools for decals on walls. They are:
- Measuring tape
- Level
- Masking tape
Whether you’re applying a bedhead wall decal in the precise centre of the room or getting ready to evenly space ten gorgeous sunflowers, you want them to be neat and level.
Use your measuring tape to secure even spacing. Then, apply your decal for a “test run” with a small piece of masking tape.
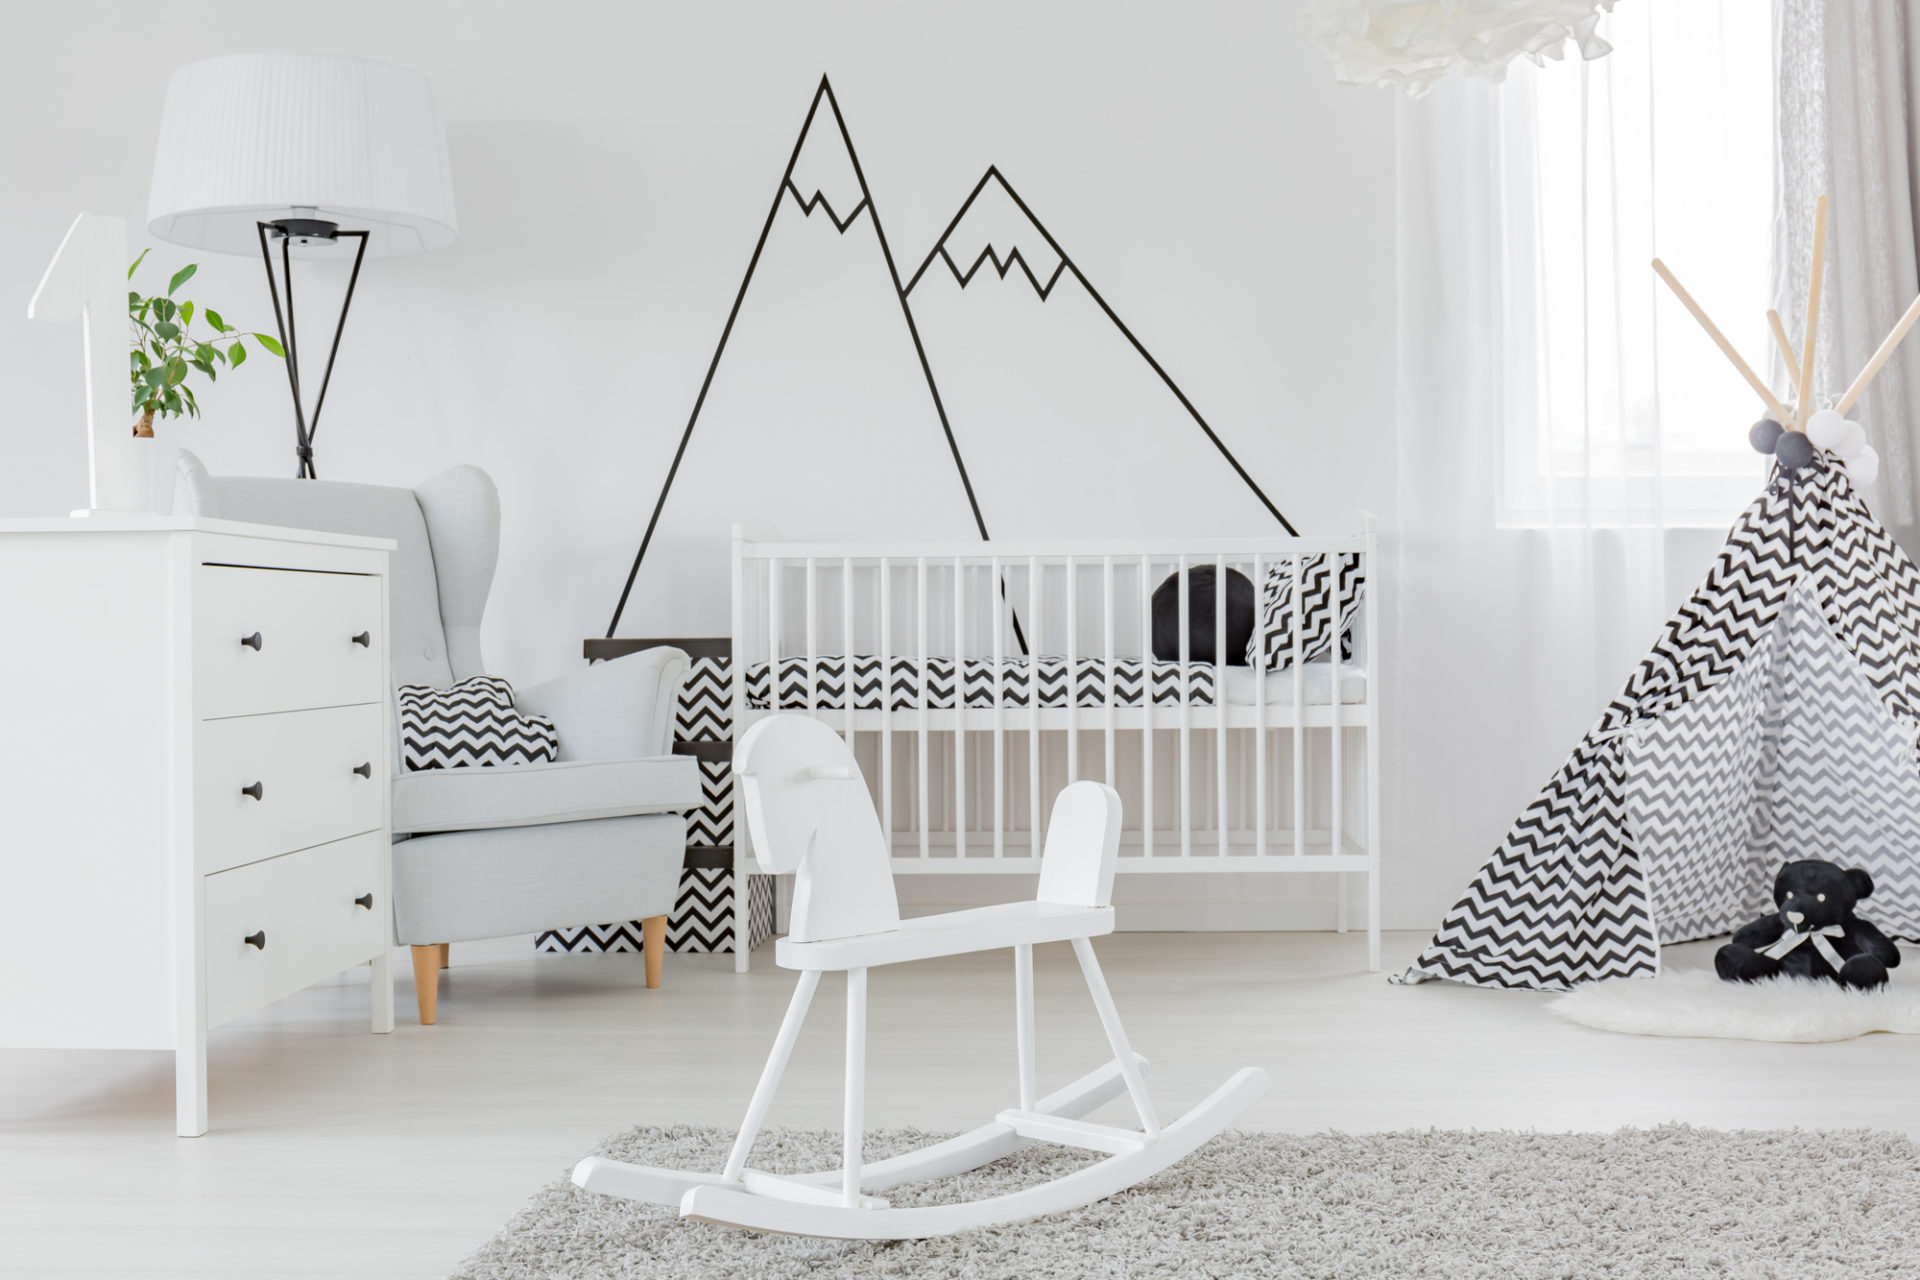
Once taped to the wall, you can see if you’ve secured it in a level position. Aside from floating rainbows or pastel stars, you’ll want to make sure you’re not about to install something that will look like a crooked picture frame for years to come.
That said, even if you’re about to get crazy with a few pastel stars or polka dots, it’s still wise to do a test run with a bit of masking tape. Then, step back and examine your masterpiece. Make your tweaks and readjustments. Then, apply your decals.
4. Cut Up Larger Decals
There are so many wall decals for kids. And, thankfully, it’s an easy job for parents because it doesn’t require major remodelling. But, if you have a large decal, like a giant giraffe or the perfect palm tree, then you can make the process easier with one additional tool.
If you have a very sharp straight edge (to ensure the cut is clean), then you can cut your decal into two or three sections and apply them one at a time.
This will simplify the entire process and, as long as you match up the pieces with precision, you’ll be well on your way to a giant wall design that your children will love.
5. Eliminate Air Bubbles
Before you pop the bubbly to celebrate a wall well done, make sure you haven’t left any bubbles in your wall decal. That would be so sad after all your hard work.
If you have a squeegee in your shower for your post-shower wipe downs, take that over to the bedroom and give the surfaces of the decal a light swipe (much like step one).
Go nice and easy so you don’t move your carefully-placed decal or tear it. Then, you can be sure all surfaces are sticking, the bubbles have floated away, and you have a perfectly positioned masterpiece.
Applying Wall Decals: Easy as Pie
Aren’t you excited to get started? Wall decals are common bedroom decorations, but no two households need to look alike! For as many stickers are there are under the sun, there are probably just as many wall decals.
Speaking of which, what if applying wall decals was as easy as peel, stick and remove? That’s what you’ll find here at Never Never.
Never again will you have to moisten, apply, and struggle. Instead, you can peel, stick, remove, and reposition with ease. It’s so simple, even a six-year-old can do it!
Come check out our wide range of wall decals, from flowers, to moonlight, to happy little polka dots. If there’s one guarantee we can make, it’s this: you’re about to transform your entire space with just a little bit of TLC and a whole lot of fun.